How to Capture Your Favorite Moments: Taking a Screenshot on Xiaomi Redmi Note 9 Pro 5G
Master the Art of Screenshot Capture on Your Xiaomi Redmi Note 9 Pro 5G
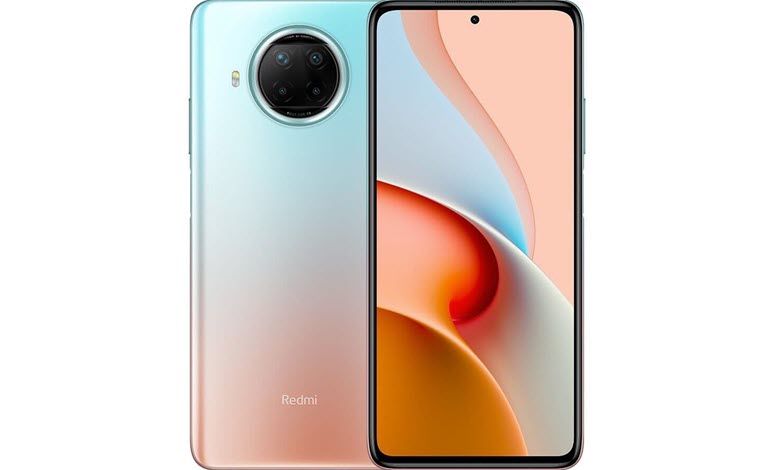
Capturing your screen has become an integral part of our daily smartphone usage. With the Xiaomi Redmi Note 9 Pro 5G, a feature-packed and advanced device, you can effortlessly save your cherished moments, share fascinating content, or document crucial information in a snap. This extensive guide will walk you through multiple methods of taking screenshots on your Xiaomi Redmi Note 9 Pro 5G, accommodating a wide range of preferences and scenarios. Whether you are a seasoned user or new to the Xiaomi ecosystem, this guide aims to help you excel in the art of capturing the perfect screenshot. So let’s delve into the various techniques, from employing physical keys to leveraging Google Assistant, exploring the drop-down menu, and even using a dedicated screenshot app.
Table of Contents
Methods for Taking Screenshots on Xiaomi Redmi Note 9 Pro 5G
Utilizing Physical Keys on Your Xiaomi Redmi Note 9 Pro 5G
Method 1: Physical Key Combination

- Open the screen you want to capture
- Press the Volume down and power button simultaneously or hold it for a second
- The screen will briefly flash, and an animation will signify the capture of the screenshot. You can then view it inside your gallery or notification panel.
The physical key method is a quick and efficient way to take a screenshot, especially when you need to capture something on the fly. Additionally, this method does not require any additional software or voice commands, making it suitable for users who prefer a tactile approach.
Harnessing the Power of Google Assistant
Method 2: Google Assistant Voice Command
- Go to the screen you want to capture
- Say, “Hey Google, Take a Screenshot” to your phone
- Google Assistant will then capture the screenshot for you.
Utilizing Google Assistant is an excellent option for those who prefer hands-free or voice-activated controls. This method can be especially helpful when your hands are occupied, or you’re in a situation where you cannot press the physical keys.
Taking a Screenshot through the Drop-Down Menu
Method 3: Drop-Down Menu Option

- Open the screen you want to capture
- Swipe down from the top of the screen to open the drop-down menu
- Locate and tap on the “Screenshot” icon to capture the screen.
The drop-down menu method is a convenient way to take a screenshot without using any physical buttons or voice commands. This option is perfect for users who prefer on-screen controls or are unable to use the other methods.
Using a Dedicated Screenshot App
Method 4: Third-Party Screenshot App
- Install a screenshot app of your choice from the Google Play Store
- Open the app and follow its specific instructions for taking a screenshot
- Access your captured screenshots within the app or your phone’s gallery.
A dedicated screenshot app offers additional features and customization options that may not be available in the built-in methods. This option is ideal for users who require more advanced screenshot-taking capabilities.
MIUI 12.5 / MIUI 13 / MIUI 14: Taking a Screenshot of a Specific Area

MIUI 12.5, MIUI 13, MIUI 14, Xiaomi’s custom Android skin, offers a unique way to capture a screenshot of a specific area on your screen. Here’s how you can do it:
- Open the screen you want to capture.
- Perform a three-finger swipe down gesture on the screen.
- The screenshot editing toolbar will appear at the top of the screen.
- Tap the “Crop” icon and adjust the selection box to capture the specific area you want.
- Tap “Done” to save the cropped screenshot to your gallery or share it using various apps installed on your Xiaomi phone.
MIUI 12 Gallery App Features
The MIUI 12 Gallery app offers additional features for screenshots, such as OCR support, device frames, and new sky replacement filters. To access these features, open the Gallery app, find your screenshot, and tap on the “Edit” option to explore the available editing tools.
Frequently Asked Questions
Q: Can I take a scrolling screenshot on my Xiaomi Redmi Note 9 Pro 5G?
A: Yes, you can take a scrolling screenshot on your Xiaomi Redmi Note 9 Pro 5G. After capturing a screenshot using any of the methods mentioned above, tap on the “Scroll” option in the screenshot preview that appears. The phone will automatically scroll down and capture more content, stitching it together to create a long screenshot.
Q: How can I edit my screenshots on Xiaomi Redmi Note 9 Pro 5G?
A: After taking a screenshot, you can edit it by tapping on the screenshot preview that appears. This will open the editing interface where you can crop, add filters, or doodle on the screenshot. Once you’re done editing, tap on “Save” to store the edited screenshot.
Q: Where are my screenshots stored on Xiaomi Redmi Note 9 Pro 5G?
A: Screenshots taken on Xiaomi Redmi Note 9 Pro 5G are typically stored in the “Screenshots” folder within the “DCIM” or “Pictures” folder in your phone’s internal storage. You can access these screenshots using your phone’s default gallery app or a file manager app.
Q: Can I take a screenshot of a specific area on my Xiaomi Redmi Note 9 Pro 5G?
A: Yes, some third-party screenshot apps available on the Google Play Store allow you to capture a specific area of the screen. Install a suitable app and follow its instructions to take a partial screenshot.
Q: Can I set a timer for taking screenshots on Xiaomi Redmi Note 9 Pro 5G?
A: Setting a timer for taking screenshots may not be possible with the built-in methods. However, you can use a third-party screenshot app that offers this feature. Explore the Google Play Store for an app that suits your needs.
Q: How can I share my screenshots directly from my Xiaomi Redmi Note 9 Pro 5G?
A: After taking a screenshot, a preview will appear. Tap on the “Share” button within the preview to access your sharing options. You can then choose your desired app or platform to share the screenshot.
Conclusion
Taking a screenshot on your Xiaomi Redmi Note 9 Pro 5G has never been easier with various methods at your disposal. Whether you prefer using physical keys, voice commands with Google Assistant, on-screen controls through the drop-down menu, or a dedicated screenshot app, this guide has got you covered. With a better understanding of these techniques, you can now effortlessly capture and share your favorite moments, content, and information. So, go ahead and make the most of your Xiaomi Redmi Note 9 Pro 5G’s screenshot-taking capabilities.


